Healthy Chocolate Berry Bars (No-Bake)
 All Vegan Desserts60 recipes
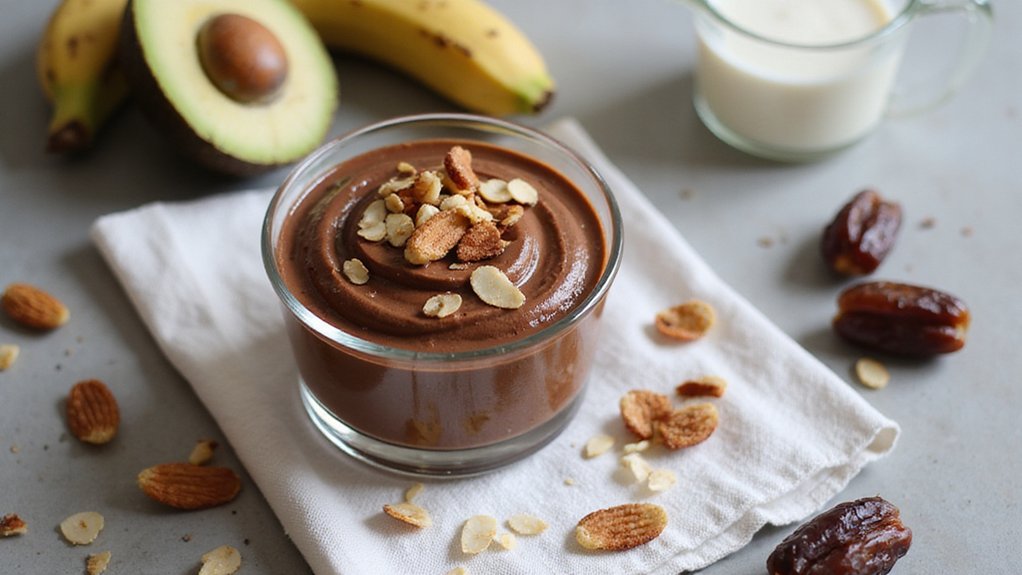
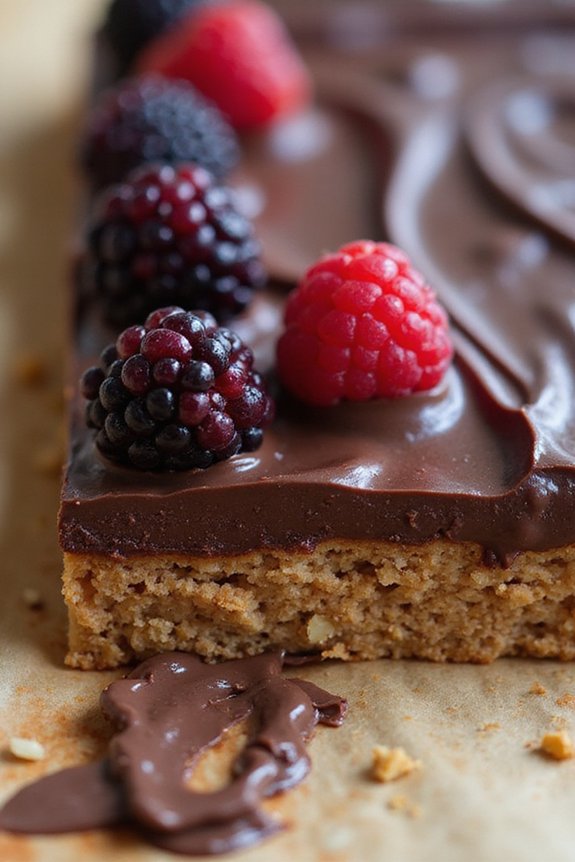
An almond flour base sets in the fridge while a dark chocolate ganache firms up on top. Press fresh berries into the ganache before it sets for color and tartness.
No-Bake Convenience Matters
While most desserts require you to spend time heating your oven and monitoring bake times, these chocolate berry bars give you flexibility because the base actually bakes while you prep other things, but here’s the real time-saver: the chocolate topping doesn’t need any baking at all. You simply heat almond milk on the stovetop, stir in cocoa powder and chocolate, then pour it over your cooled crust. This method cuts out the stress of precise baking temperatures and removes the guesswork from figuring out when it’s done. The freezer does the final work, setting everything while you handle other tasks or relax. Having the right baking tools and equipment* on hand makes this no-bake process even more efficient and enjoyable.
Almond Flour Base Recipe
These Chocolate Berry Bars feature a nutrient-dense almond flour base that provides a satisfying texture and subtle nutty flavor. The combination of almond flour and coconut flour creates a gluten-free foundation, while coconut sugar and maple syrup offer natural sweetness. The base is bound with melted coconut oil, creating a rich crumb that bakes into a golden crust. This foundation supports a luscious dark chocolate ganache topped with fresh berries for a delicious and wholesome treat. For best results, consider investing in professional baking kits* that include quality measuring tools and mixing equipment to ensure precision in your ingredient ratios.
Ingredients:
I always go for high-quality almond flour with a fine texture to make sure you get even distribution throughout the base. The ratio of almond flour to coconut flour really matters, since too much coconut flour will create a dense texture. Choose dark chocolate with at least 70% cocoa content for deeper flavor and reduced sugar content. Fresh berries can be substituted based on what you can find – raspberries, blueberries, and blackberries all work beautifully in this recipe. Have all your ingredients at room temperature before mixing for the best results.
Chocolate Layer Technique Matters
The chocolate layer is the star of these Chocolate Berry Bars, and getting the technique right helps you get a perfect balance of texture and flavor. Begin by bringing 1/4 cup of unsweetened almond milk to a boil in a small saucepan. Once the liquid reaches a rolling boil, add 2 tablespoons of unsweetened cocoa powder and 3 ounces of dark chocolate, then immediately reduce the heat to medium-low. The key to success is continuous stirring for 10-12 minutes, which allows the chocolate to melt evenly and mix fully with the cocoa powder and almond milk. This gradual melting stops lumps from forming and creates a smooth, glaze-like consistency that will coat the crust without pooling or running off the sides.
The thickness of your chocolate mixture directly affects how well the berries will stick to the bars. As you stir, you’re looking for a texture that is slightly runny – similar to a pourable glaze – rather than thick fudge or thin syrup. If at any point your mixture becomes too thin and watery, add a little extra cocoa powder in small increments to thicken it to the consistency you want. Patience during this step really matters, as rushing the process or using high heat can result in a grainy or separated chocolate layer.
Once your chocolate mixture reaches the right consistency, pour it over the cooled crust and spread it evenly throughout with a baking spatula. Work quickly but carefully to get uniform coverage before the chocolate begins to set. Immediately arrange your fresh berries across the top, pressing them lightly into the chocolate so they become partially embedded. This technique keeps the berries from sliding off during freezing and makes them look great. Freeze the bars for 2-3 hours until completely set before cutting into 16 pieces and storing them in the freezer.
Swap Almond Flour for Oat
You can customize the base of your bars by swapping almond flour for oat flour. Simply replace the two cups of almond flour with oat flour, keeping everything else the same. Oat flour creates a slightly denser, more traditional cookie texture that works well with chocolate. It’s also more budget-friendly and works well for anyone with tree nut allergies. The baking time stays the same, so you’ll still get that perfect golden-brown crust in fifteen to eighteen minutes.
Pair With Coconut Yogurt
You can pair these bars with coconut yogurt for a completely new dessert experience. The tangy, creamy yogurt works well with the chocolate’s richness, creating balance on your palate. Simply dollop a spoonful alongside each bar or layer them together for a parfait-style dessert. Coconut yogurt adds protein too, making your treat more satisfying. I’d recommend using plain, unsweetened varieties to avoid extra sugar. This pairing transforms your frozen bars into something lighter and more sophisticated – perfect for indulgence without the heaviness.
Final Thoughts
By exploring pairings like coconut yogurt, you’ve discovered how flexible these chocolate berry bars really are. You’ve got a naturally sweetened treat that works for different dietary preferences – keto, paleo, or just looking for healthier options. The combination of almond flour, coconut ingredients, and fresh berries gives you nutrients alongside indulgence. Now that you understand the base recipe and customization options, you’re ready to make these bars regularly. Store them frozen, grab one whenever cravings hit, and enjoy knowing you’re choosing something genuinely good for your body.
Ingredients
Instructions
- 1 Preheat oven to 175°C (350°F). Line a 20 cm (8-inch) square baking pan with parchment paper, leaving overhang on two sides.
- 2 In a bowl, combine almond flour, coconut flour, coconut sugar, baking soda, and salt. Add melted coconut oil and 2 tablespoons of the maple syrup; mix until a crumbly dough forms. Press firmly and evenly into the prepared pan. Bake for 15-18 minutes until the edges are golden and the centre is set. Transfer pan to a wire rack and cool completely, about 30 minutes.
- 3 Heat almond milk in a small saucepan over low heat until just steaming (do not boil). Remove from heat, add chopped chocolate, remaining 2 tablespoons maple syrup, and cocoa powder. Stir constantly until chocolate is fully melted and the ganache is glossy and smooth.
- 4 Pour the chocolate ganache evenly over the cooled crust and spread to the edges with a spatula.
- 5 Scatter berries evenly over the ganache. Refrigerate uncovered for at least 2 hours, or until the topping is fully set.
- 6 Lift the bars out using the parchment overhang and transfer to a cutting board. Slice into 16 bars with a sharp knife. Store in an airtight container in the refrigerator for up to 5 days.