Quick Gluten-Free Vegan Pita (No Yeast!)
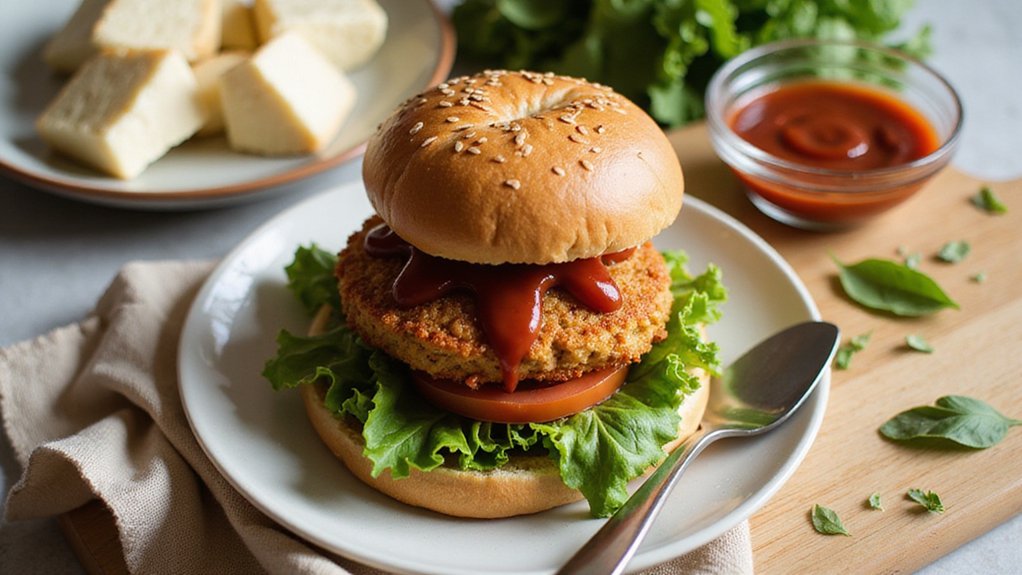
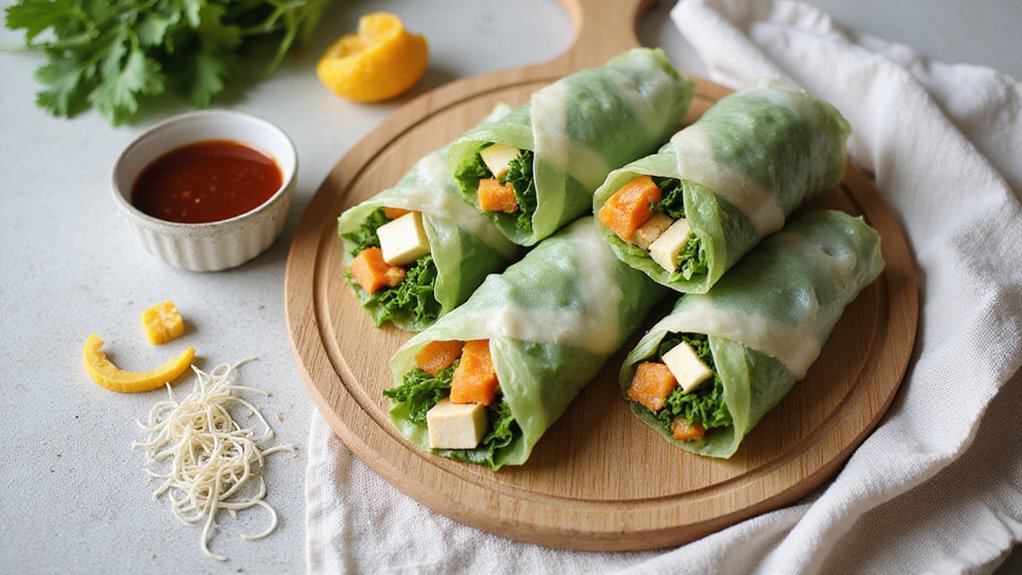
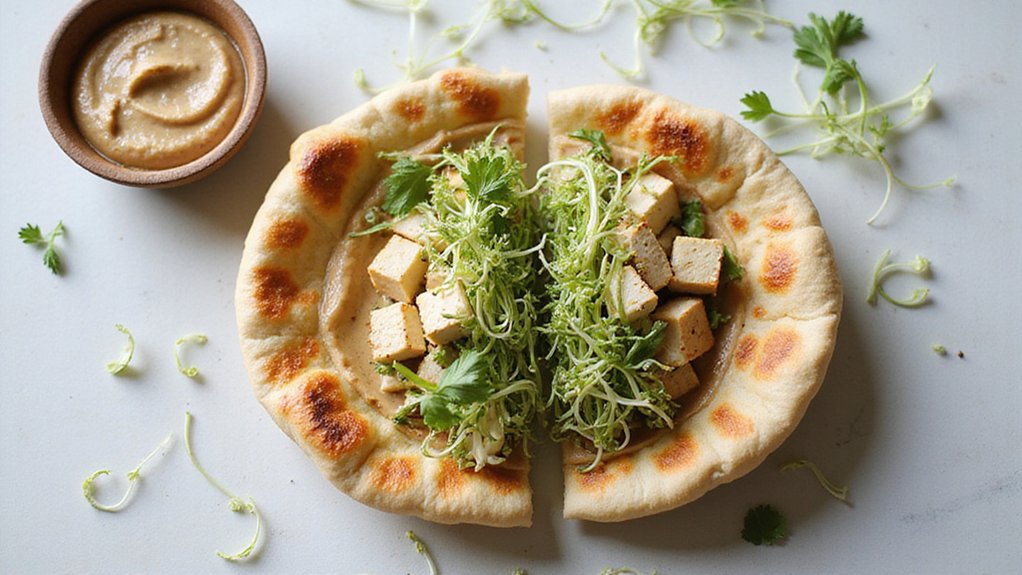
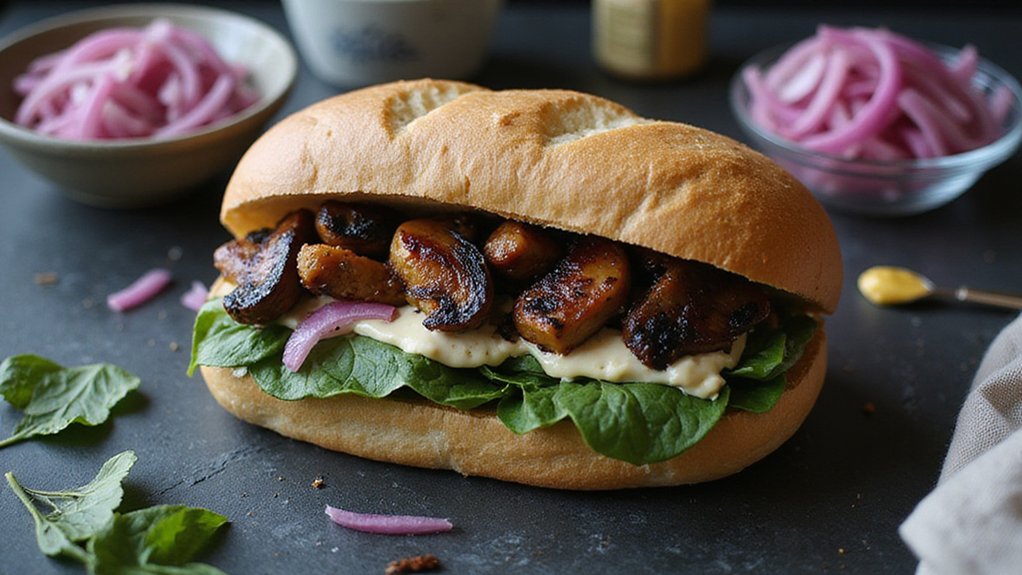
 All Vegan Sandwiches35 recipes
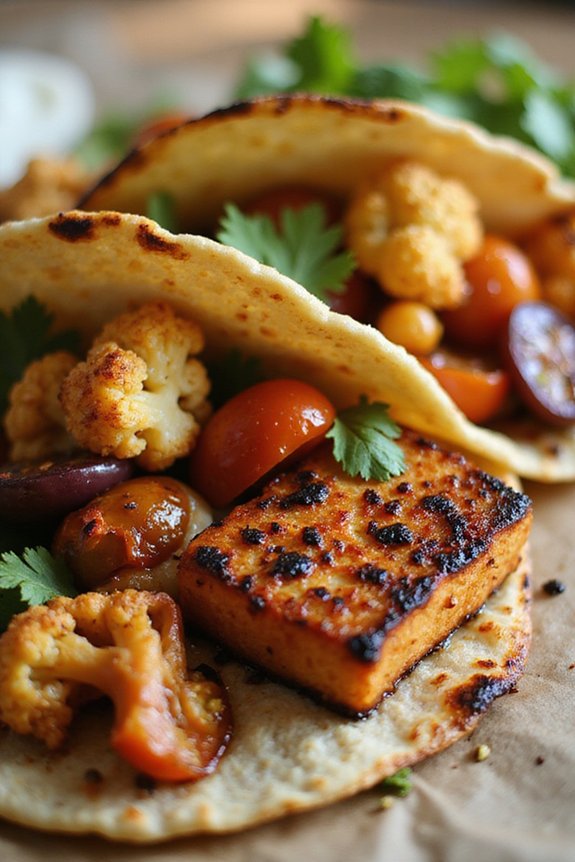
No yeast needed for these gluten-free pitas. Mix, rest, and cook in 15 minutes, then fill with hummus and roasted vegetables.
No Yeast Required Here
Have you ever wondered why some pita recipes demand hours of rising time while this one doesn’t? I’ve ditched the yeast entirely, and here’s why: this recipe relies on chemical leavening agents instead. Baking soda and cream of tartar create lift through a reaction that happens right away when you mix them with wet ingredients. You don’t need patience or a warm spot for proofing. The guar gum gives structure that yeast normally provides, binding everything together. This means you’re mixing dough one minute and baking fresh pitas ten minutes later. It’s genuinely quick.
Gluten-Free Flour Blend Required
This gluten-free vegan pita recipe needs a carefully balanced blend of alternative flours to get the right texture and structure. The combination of gluten-free all-purpose flour, millet flour, brown rice flour, and ground flax seed creates a nutritious base that works like traditional wheat flour while keeping the recipe vegan. Binding agents like guar gum are important in gluten-free baking to give elasticity and help the dough hold together without eggs or dairy.
Ingredients:
When preparing this recipe, check that all flour components are certified gluten-free to avoid cross-contamination. The egg substitute acts as a binder, while the combination of olive oil and sesame oil gives flavor and moisture. The warm water amounts might need slight adjustment depending on the specific flour brands used, since different gluten-free blends soak up liquid at different rates.
Preheating Pizza Stone Matters
Begin by preheating your oven to 400°F and placing a pizza stone or an upside-down baking sheet inside. This step is important because the hot surface helps your pitas bake evenly and develop a light golden-brown exterior. While the oven heats, whisk together the dry ingredients in a large bowl: 1 cup all-purpose gluten-free flour, 1/2 cup millet flour, 1/2 cup brown rice flour, 1/4 cup ground flax seed, 1 teaspoon guar gum, 1 1/2 teaspoons baking soda, 1/4 teaspoon cream of tartar, 1 pinch cumin (optional), and 1 teaspoon kosher salt.
In a separate bowl, whisk together 1/4 cup warm water and 1 tablespoon Ener-G Egg Substitute, then add this mixture to the dry ingredients along with 1 tablespoon olive oil, 1 teaspoon toasted sesame oil, and another 1/4 cup warm water. Mix to combine, then slowly add 1/2 cup warm water while continuing to mix until you achieve a wet dough. Keep mixing until parts of the dough begin pulling away from the sides of the bowl. Scrape the dough onto a dampened counter and divide it into portions.
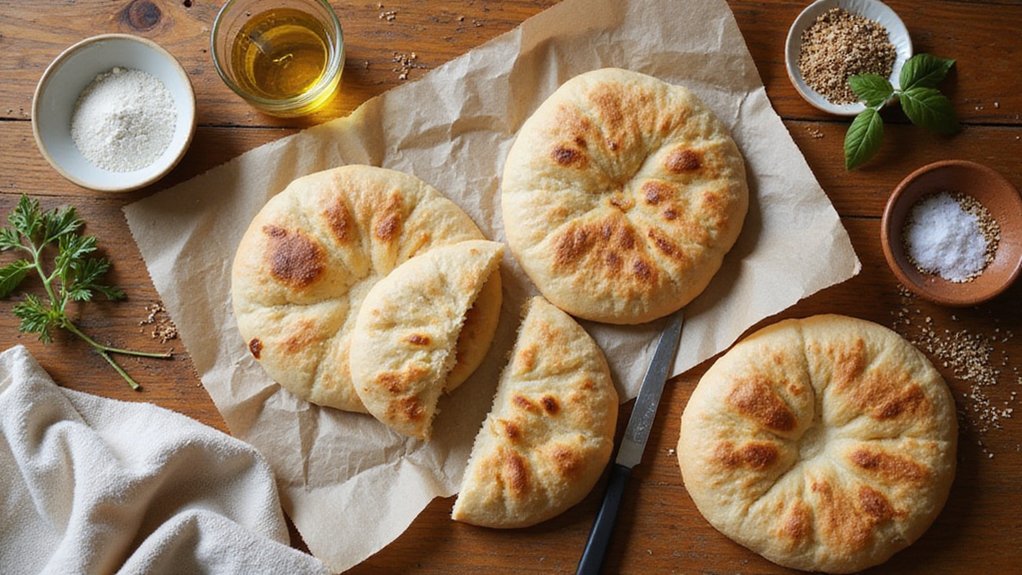
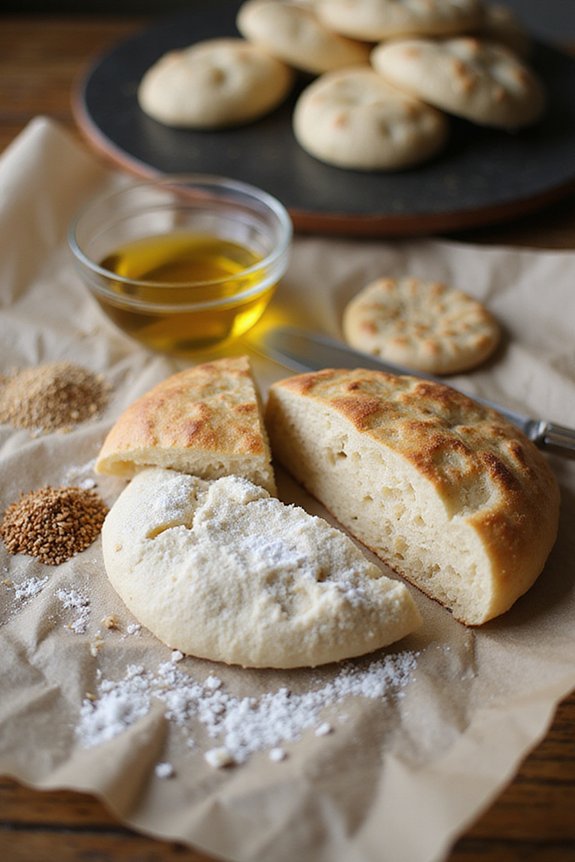
Working with wet hands, place one piece of dough on a sheet of parchment paper and use wet fingertips to smooth it into a 1/2-inch thick round. Repeat with the remaining dough pieces, spacing them about 1/2 inch apart. Transfer the parchment paper to the hot pizza stone and bake for 5 minutes, then carefully flip each pita and bake for another 5 to 7 minutes until lightly browned on both sides. Allow the pitas to cool for 3 to 5 minutes until they can be handled, then slice each round in half through the center and gently coax open the pocket with a sharp knife. Once fully cooled, store them in a plastic bag on the counter for up to 2 days.
Try Different Flour Blends
The combination of gluten-free flours in this recipe creates the structure and texture you need for soft, pliable pitas, but you’re not locked into using exactly these varieties. I’ve experimented with swapping in quinoa flour, buckwheat flour, or chickpea flour for interesting results. Each flour behaves differently, so you might need to adjust your water slightly – start with less and add gradually. Tapioca starch works well for stretch and chewiness, while psyllium husk adds binding power. For a nutritional boost, you can also incorporate bulk quinoa* into your flour blends for added protein and complete amino acids. Test small batches first to find your favorite combination. You’ll discover what works best for your taste and dietary needs.
Hummus and Roasted Vegetables
What’re you going to stuff inside those warm pitas you’ve just made? I’d recommend creamy hummus paired with roasted vegetables. Hummus provides protein and healthy fats that keep you satisfied, while roasted veggies add nutrients and texture. Toss your favorite vegetables like bell peppers, zucchini, eggplant, or carrots with olive oil and salt, then roast at 425°F for twenty minutes until tender and slightly caramelized. The roasting brings out their natural sweetness and creates a nice contrast against the smooth hummus. Stuff everything into your pita halves while they’re still warm, and you’ve got a complete, filling meal.
Final Thoughts
Once you’ve mastered these gluten-free vegan pitas and filled them with hummus and roasted vegetables, you’ll have a reliable recipe that works for your dietary needs and tastes delicious. I’ve found that keeping a batch on hand makes weeknight dinners effortless. This recipe is flexible – you can try different fillings and flavor combinations without worrying about gluten or animal products. Store your pitas properly, and they’ll stay fresh for two days, ready whenever hunger strikes. You’ve now got a homemade solution that works better than store-bought alternatives.
Ingredients
Instructions
- 1 Preheat oven to 400F (200C) with a pizza stone or inverted heavy baking sheet on the middle rack for at least 20 minutes.
- 2 Whisk together gluten-free flour blend, millet flour, brown rice flour, ground flax seed, guar gum, baking soda, cream of tartar, salt, and cumin in a large bowl.
- 3 In a small bowl, mix Ener-G egg replacer with 1/4 cup warm water and let stand 1 minute. Add egg replacer mixture, olive oil, and sesame oil to the dry ingredients and stir to combine.
- 4 Add warm water gradually (starting with 3/4 cup) and mix until a soft, slightly sticky dough forms that holds together – add remaining water if needed. Do not over-mix.
- 5 Divide dough into 4 equal portions. Place each portion between two sheets of parchment paper and roll out to 1/4-inch thick rounds (about 6 inches diameter). Slide onto hot pizza stone still on parchment.
- 6 Bake for 10-12 minutes until tops are dry and edges are lightly golden. Do not over-bake or they will crack. Remove from oven and wrap in a clean towel for 5 minutes to soften before serving.